No products in the cart.
Blog, Farmhouse Decor, Inspiration, Wall Decor
Living Room Wall Decor Ideas: 7 Easy Steps To Make A Gallery Wall
Have you ever heard of a gallery wall? The answer is maybe yes or no. But anyway, when it comes to living room wall decor ideas, gallery walls have been extremely fashionable in recent years, dominating the interior design trends.
Actually, they are all about bringing together your favourite artwork, which may sound like a piece of cake. But actually these are super intimidating for real. For whoever doesn’t know where to start from, this blog post is born for you.
We’re gonna walk you through all 7 steps of a successful gallery wall in detail.

Contents
Gallery wall – an indispensable living room decoration
Living room is where your guests spend most of the time when coming over your house. So It’s no surprise that people are often drawn to make it pretty stunning and fabulous.
Moreover, this is the place where every family member gathers to relax at the end of the day. That’s why getting your living room decorated beautifully will definitely stay on your need-to-do list, indeed.

SEE: MORE SUNFLOWER WALL ART
Actually, there are thousands of living room wall decor ideas out there but having a gallery wall will literally be beyond your expectations.
Why so? It acts as a “savior” for extremely monotonous living rooms, especially those with completely blank walls.
What you need to prepare for these living room wall decor ideas
- Artwork
- Pencil
- Ruler
- Wall filler (in case of mistakes)
- Scissors
- Kraft paper
- Painters tape
- Hammer
- Nails or picture hangers
- Level
Step 1: It’s collecting time
You’ve got your own favorite piece of art at home but have no idea how to get started with it? Then double the amount of art pieces to create a magnificent gallery wall in your living space.
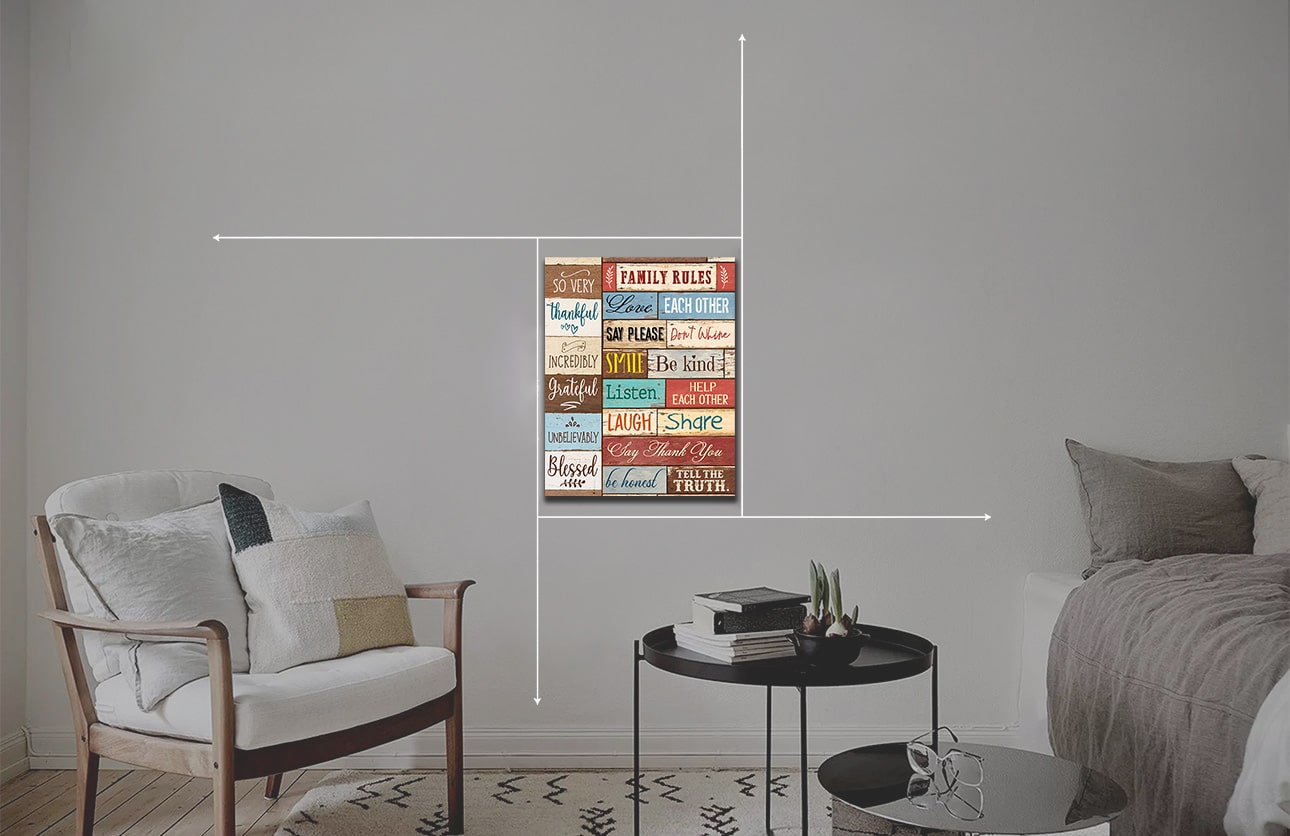
The thing is to remember to look to your anchor piece for color inspiration. Everything should go well with each other, or else the wall may get a little bit chaotic for sure.
In other words, you had better create a cohesive color palette for a pulled together look.
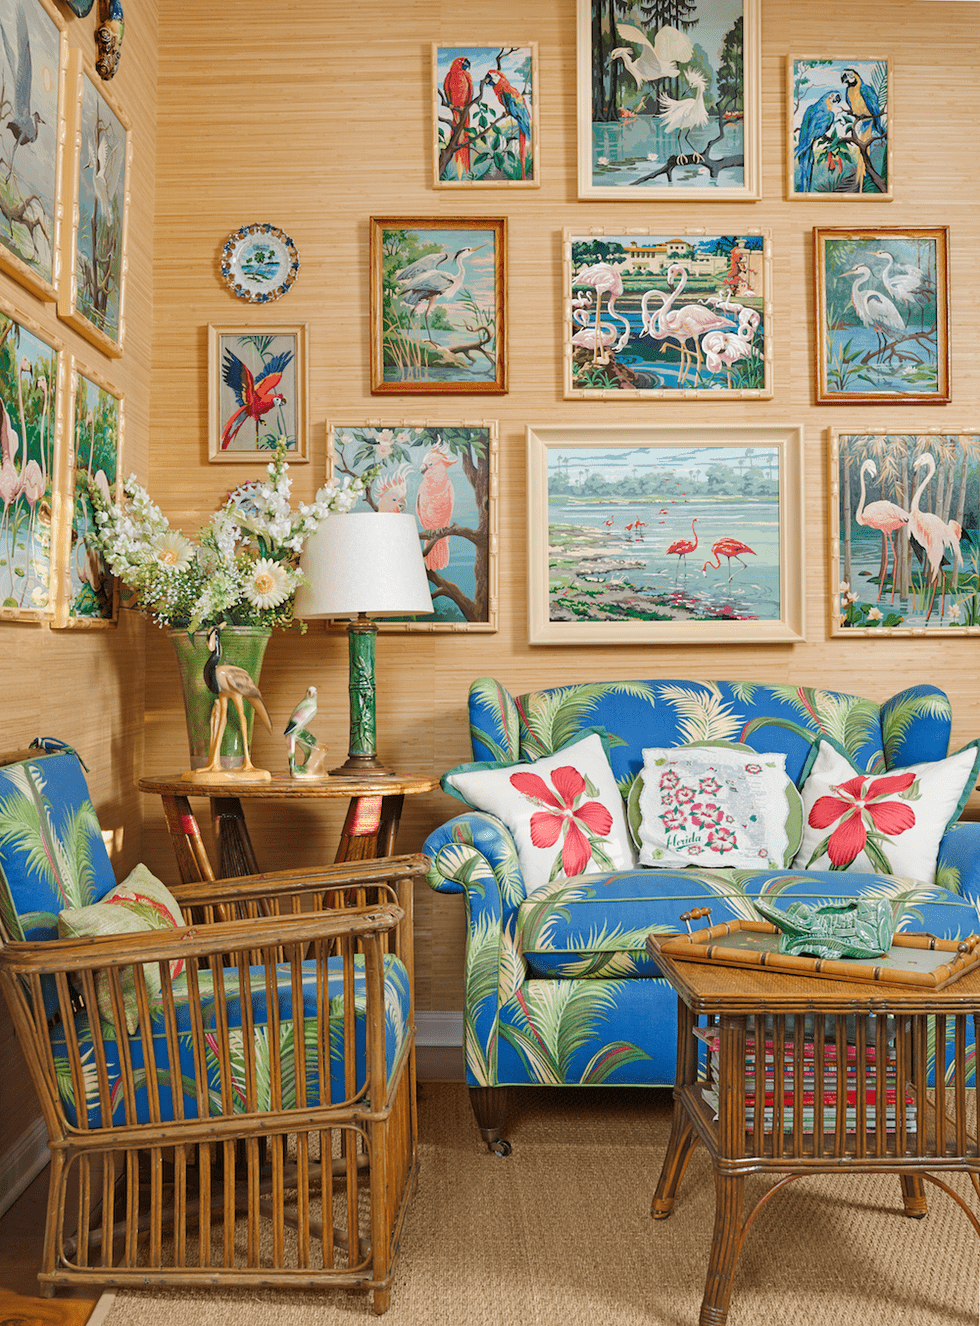
If you start your salon wall from scratch, all you need is your imagination. Before splashing cash on real things, the living room wall decor ideas should be perfect at first.
The Internet may be quite useful in this scenario because there are so many fantastic ideas to choose from.

Going straight to some local art stores to window-shop sounds pretty good, right? After you spend some time exploring the possibilities, narrow your focus to a style or color scheme that fits your home and speaks to you.
Additionally, on finding living room wall decor ideas, try to keep your pieces feeling similar in tone and intensity.
The suitable gallery theme is another thing you need to take in mind. Living room artwork should not be too personal, like a memorial wall art for those passing away.
Faux windows or inspirational canvases will obviously look best on a gallery wall.
“Your gallery wall should tell a story, and each story will be different.”
Step 2: Playing with location
Next up is to determine where we’re gonna display those artwork. People frequently hang a gallery wall above their sofa.
This works best in case you fancy creating a focal point in your living room, with a large couch and a fabulous gallery wall right over it.

READ: 9 Important Do’s And Don’ts In Farmhouse Decor Above Bed You Should Know
However, if you are sitting on the couch but still want to enjoy a glimpse of your favorite wall art, how can this happen? So why don’t we try another living room wall decor ideas?
Perhaps the space above the fireplace needs to be occupied. Or a gallery wall around the TV will not be a bad idea.
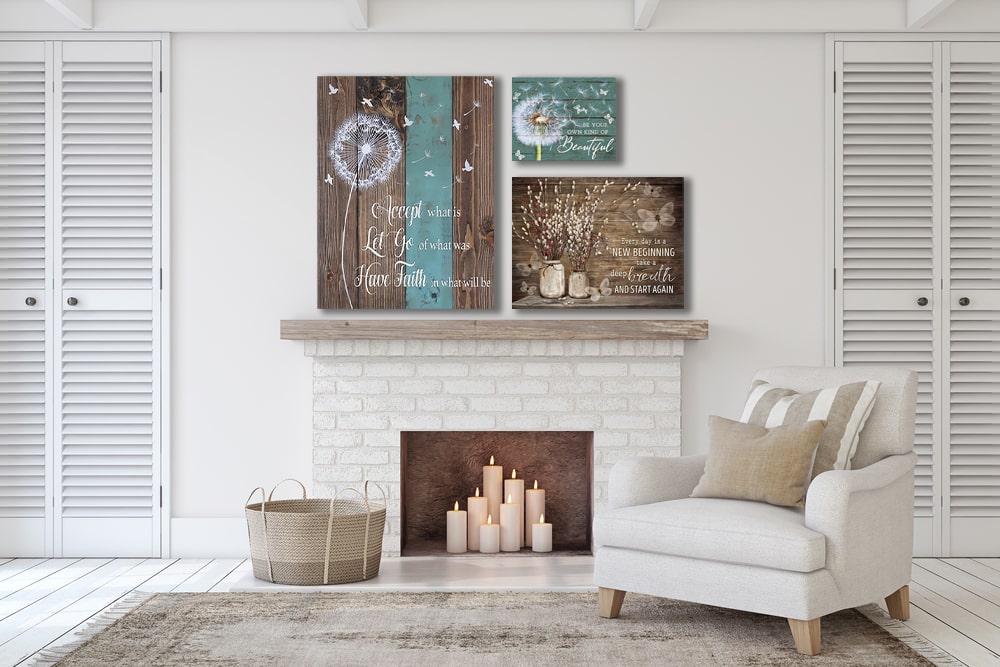
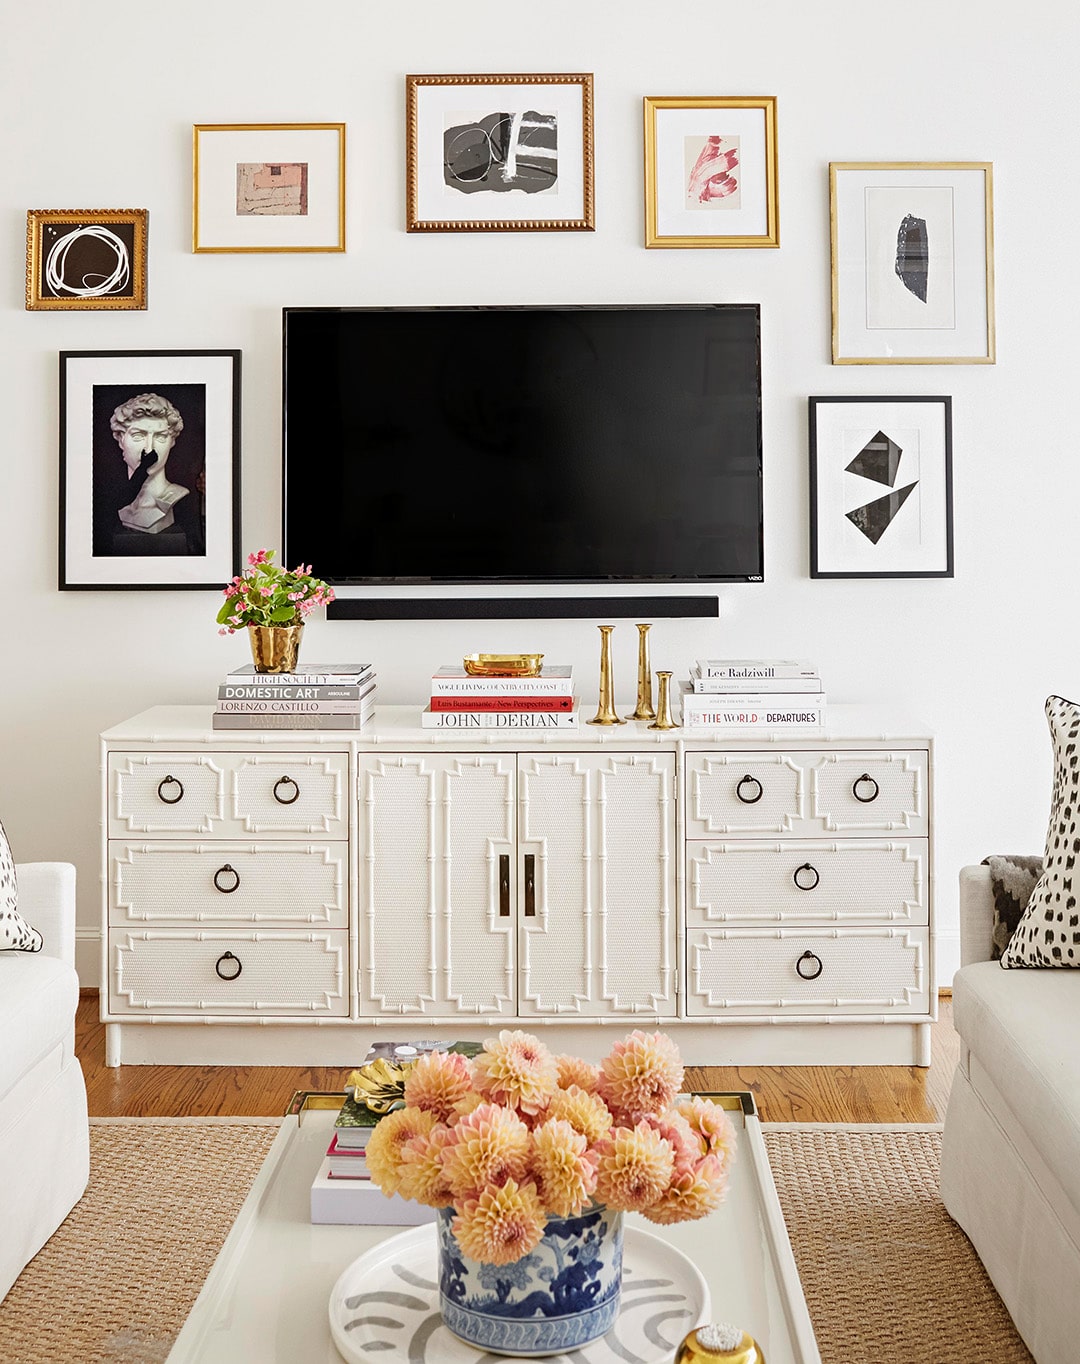
“If your wall art is the apple, the space to put it in is the pie.”
Step 3: Picking your favorite layout
Indicating how to display those stunning artwork, to a certain degree, is always a daunting task, even for professionals. The rule of choosing the layout is: there are no rules. Definitely true! That is how art is born.
That means you can go with your own living room wall decor ideas and still create a perfect gallery wall. Do think out of the box as long as it goes well with your living room.
However, in case you completely have no idea, we have listed below 9 gallery wall ideas to layout your wall art.

“Whatever layouts will you choose, try to keep the middle line of the collection at eye level.”

Click here for more info of Product #1 >>>
Click here for more info of Product #2 >>>
Click here for more info of Product #3 >>>
Step 4: Measuring up
This step is such a tough one. You have to measure the wall space and indicate where to hang your collection precisely. Actually, a lot of people skip this step as they think this is a waste of time.
But be careful! If you change your mind after nailing things up on the wall, the surface will not be the same, resulting in a loss of aesthetics. So before nailing any holes, establish your gallery wall layout.
You had better use some paper cut-outs with the same dimensions as your artworks to plan the layout on the wall or just place all your pieces on the floor to see how they interact with each other.
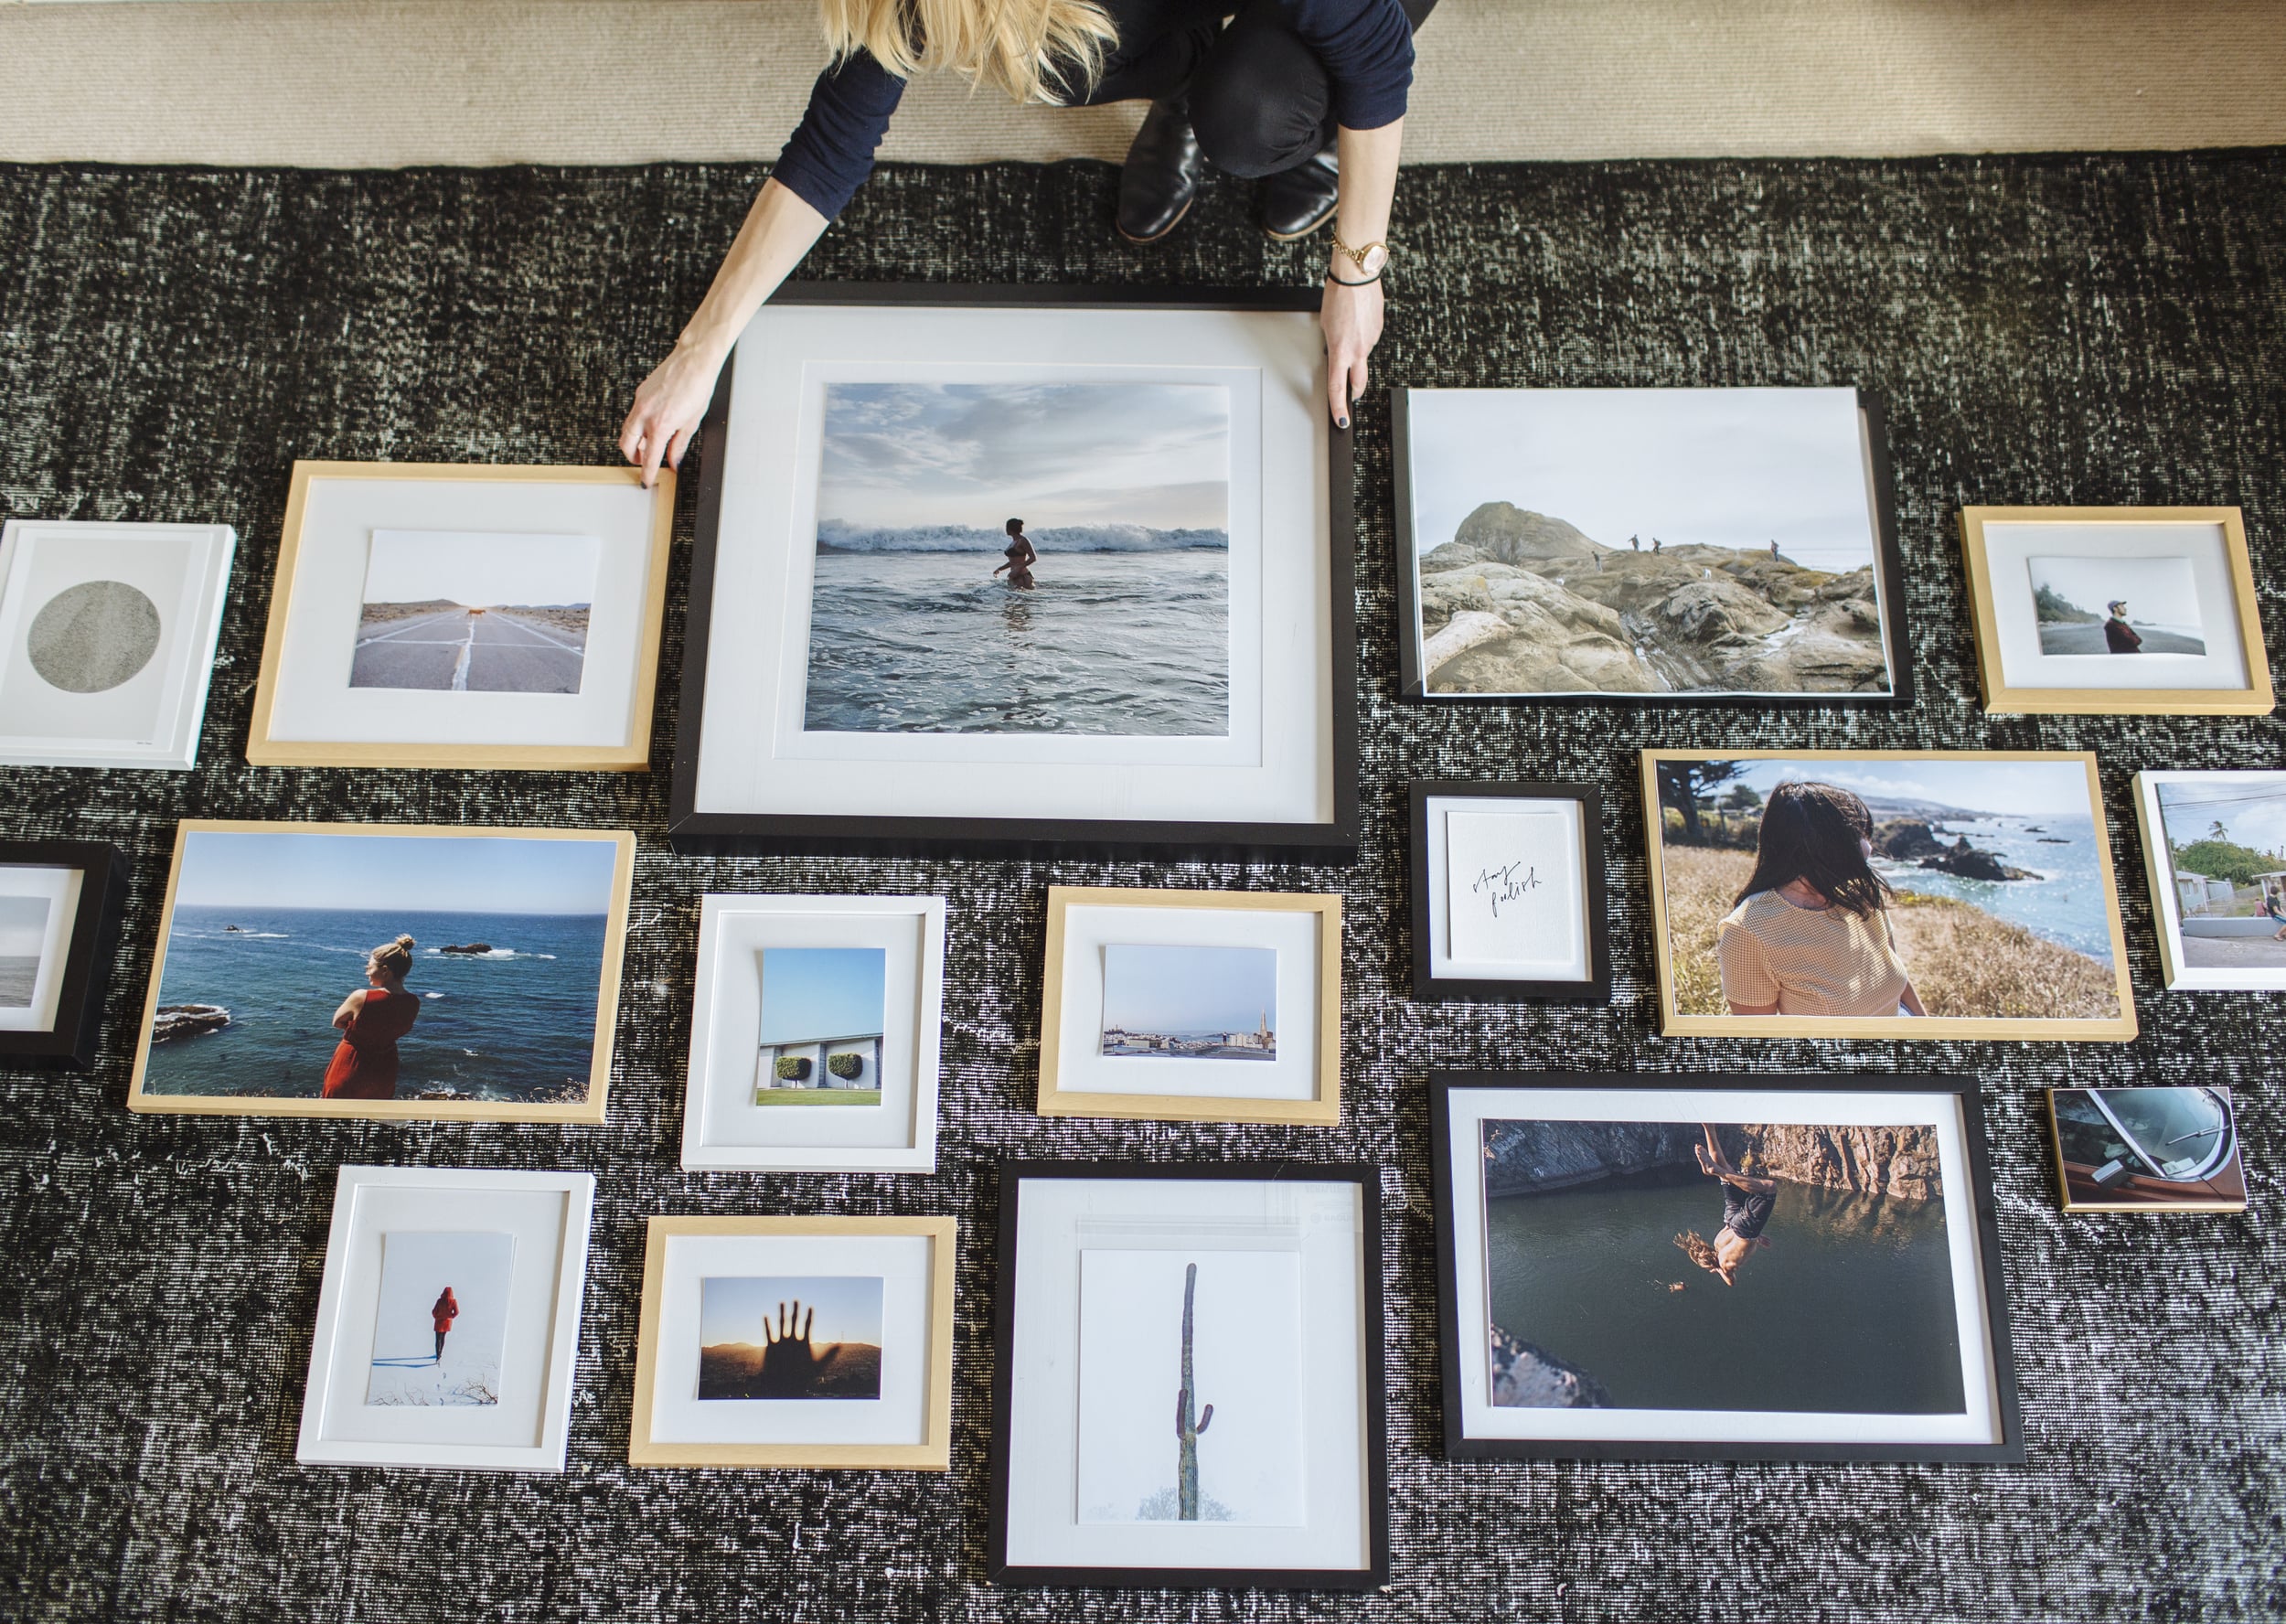
Another option is tracing around each piece of art on kraft paper, then cutting it out. After that, tape each cutout to your wall to get a sense of how it will look. If you’re a beginner, this approach will come in handy.

If the chosen layout destroys the beauty of the wall, let’s try another one. Don’t worry! We’ve already recommended up to 9 layouts of living room wall decor ideas above.
“A successful wall gallery keeps art at an equal distance. 3–6 inches between each one is perfect.”
Step 5: Thinking about frames
Some individuals may be perplexed as to why frames are used. Of course, they add to the antique feel of your salon wall. What’s more? These frames assure the connection between every single wall art.
The larger the space, and the more pieces you have, the more frame styles you can mix in. In case you’re worried about your gallery wall getting too eclectic then we suggest starting with three frame styles and seeing how you feel.
You could go with a nice clean option – white frames, black frames and then bring in one more ornate frame style if needed.


But let’s take in mind that: Wall art is the soul and frames are just an add-on part. That means frames shouldn’t be too striking to overwhelm the true beauty of artwork.
Step 6: Hanging
Just one more step and we’re almost there. Shall we begin? Drawing lightly on the walls where the nails will be the same as we’ve lately sketched.
Following this, confidently hammering and getting them all up. A level tool can be used to make sure everything is as straight as a string.

Step 7: Beginning the show
Finally, here’s a glimpse at the finished product. Simply take a step back and enjoy yourself. Putting up a gallery wall can feel daunting, but once it’s up, it’s incredibly satisfying, indeed.
The intriguing part is that you can easily swap as well as update with new favorites whenever you feel like.
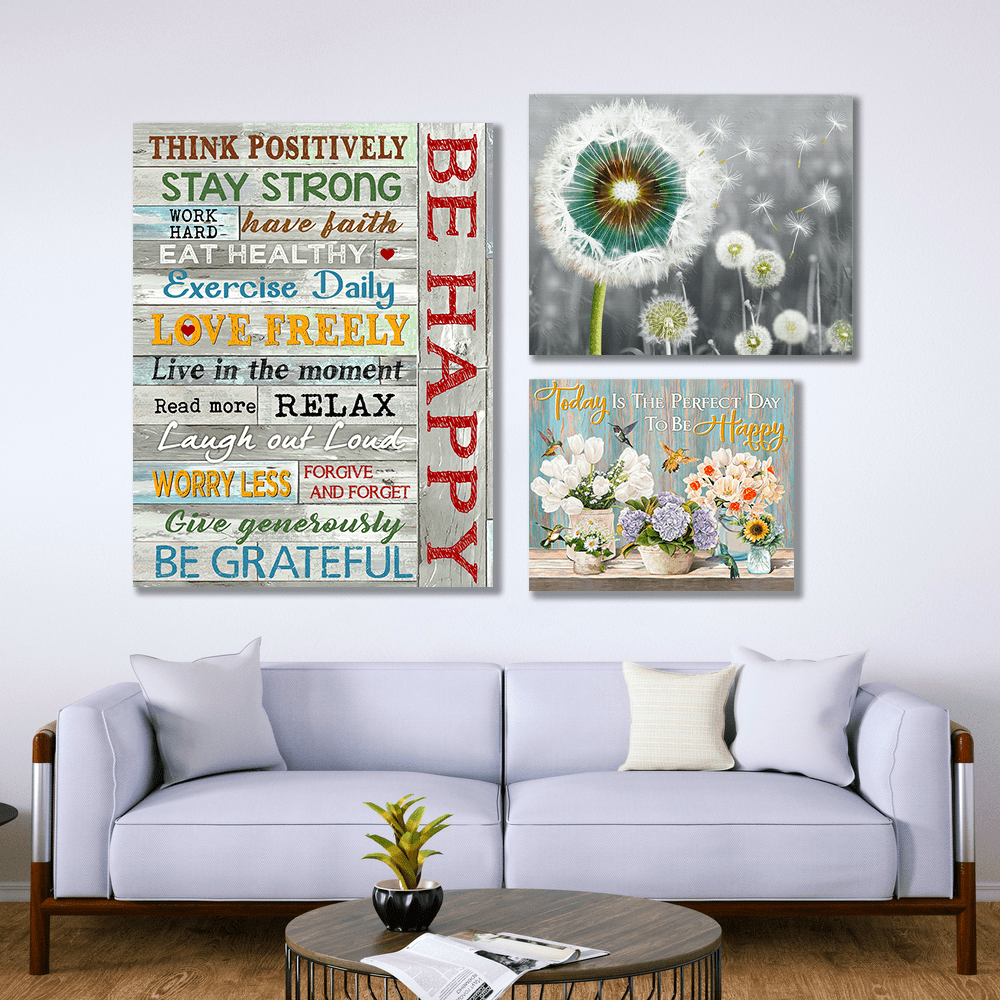
Click here for more info of Product #1
Click here for more info of Product #2
Click here for more info of Product #3
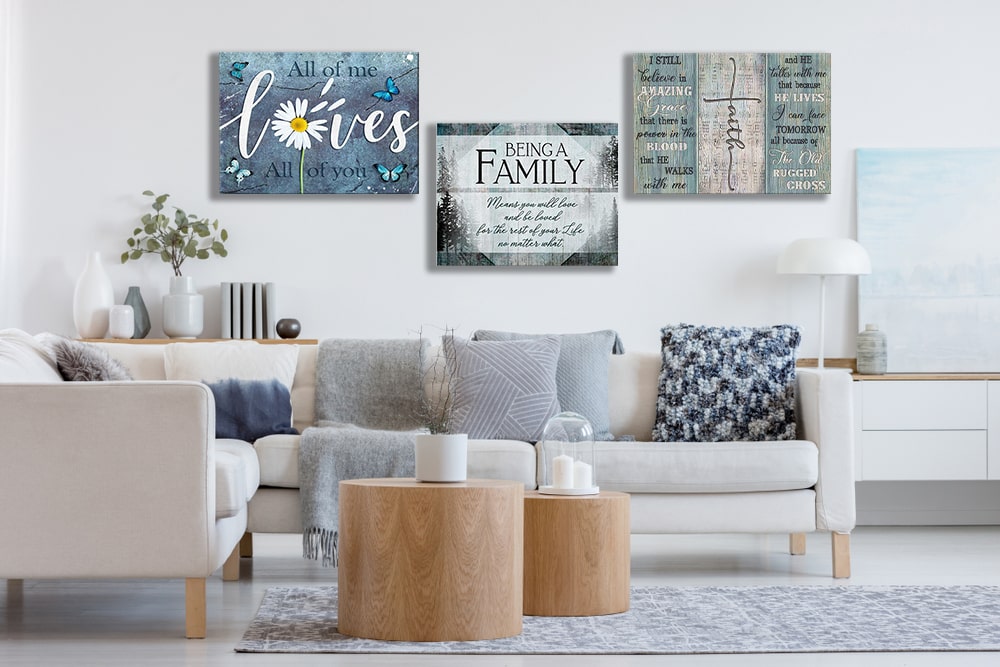
Click here for more info of Product #1
Click here for more info of Product #2
Click here for more info of Product #3
For example, on the arrival of the next autumn, you might want to replace a couple of artwork to welcome a new season. It won’t cost you much time. Trust us.
Now, after chatting in-depth about this living room wall decor ideas article, what are you waiting for? Let’s go for a gallery wall right away. You can even create one in your hallway, along your staircase, or above your bed.
If there is anything hard to understand, don’t hesitate to leave your comment below so that we can thoroughly explain it to you.
Also, drop your email in the “ Join our VIP list” box below and you will be surprised by plenty of special deals on certain occasions.
Maybe you are interested:
- How To Arrange Wall Art? – Great Tutorial And Tips
- 15+ Fabulous Farmhouse Spring Decorating Ideas to Try in 2022


